
MiraBot and other OSR-based devices rely on multiple servos to generate smooth, coordinated motion. Inside each servo, a multi-stage metal gear train transfers the motor’s rotation to the output shaft and provides the torque required to move the device.
Like all mechanical components, the internal gears gradually wear over time, even under normal use. Heavy loads or unusually intense movement may accelerate this wear and can eventually cause gear damage. In many cases where a servo produces abnormal movement or noise, the motor and electronic components are still functioning normally—the issue may be limited to the internal gear train.
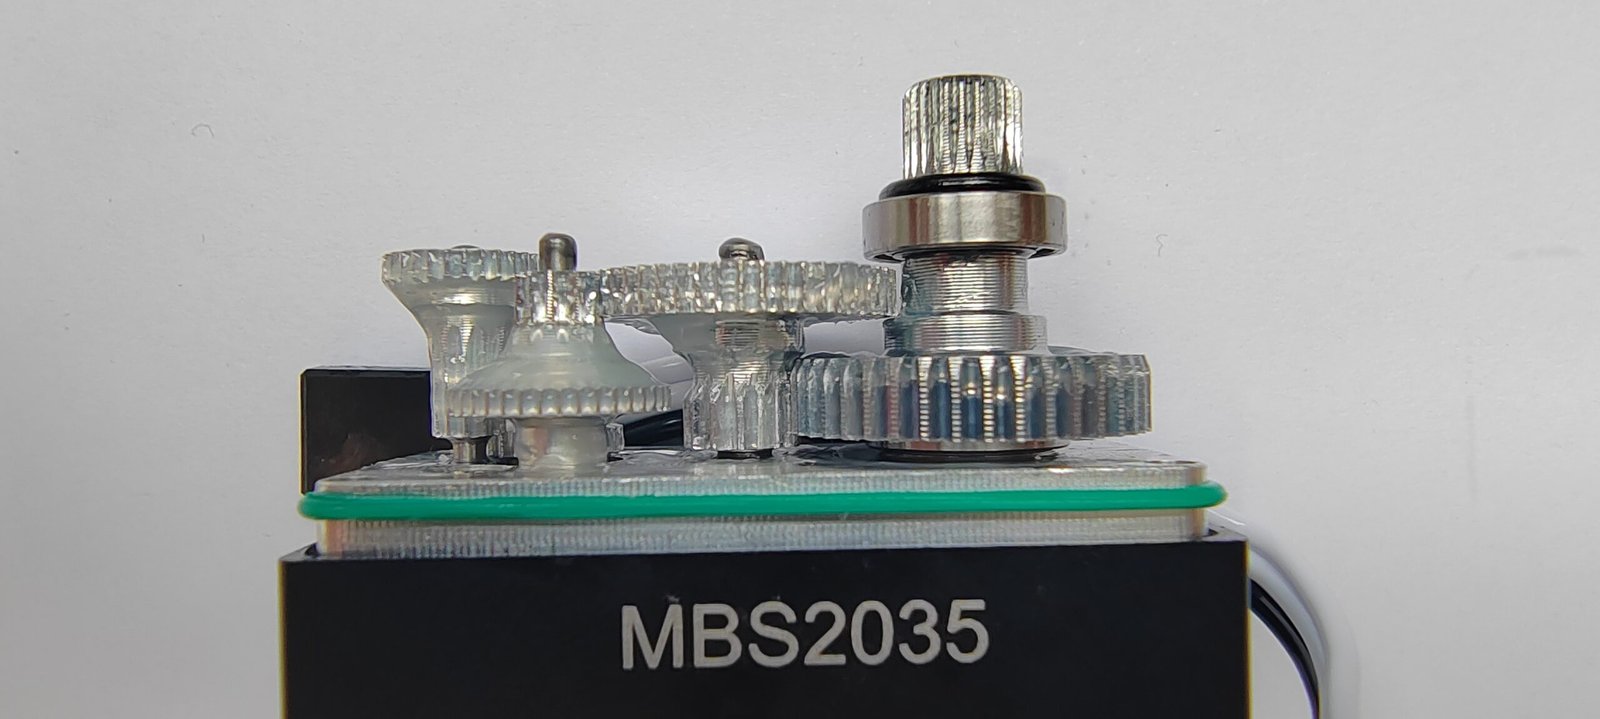
Common signs of possible gear damage include:
- Clicking or grinding sounds from inside the servo
- The motor can be heard running, but the servo arm does not move correctly
- Excessive free movement at the output shaft
- Movement that slips, skips, or stops under load
- Visible wear or broken teeth after opening the servo
Not every servo fault is caused by the gears. Motor, sensor, cable, connector, or control-board faults may produce different symptoms. This guide and replacement kit are intended for cases where internal gear damage has been confirmed.
A More Economical Repair Option
Replacing an entire servo can be relatively expensive, especially when the motor and electronic components are still functioning normally.
To help MiraBot users reduce maintenance costs and extend the service life of their devices, we worked with the servo manufacturer to produce a dedicated replacement gear set for the MBS2035 servo.
The MiraBot Servo Replacement Gear Kit includes the complete internal metal gear train and output shaft bearing. It allows users to replace the worn mechanical components without purchasing a complete new servo.
The kit is compatible with the MBS2035 180° and 270° servos used in:
- MiraBot S6
- MiraBot Lite
Replacement Gear Kit
What Is Included
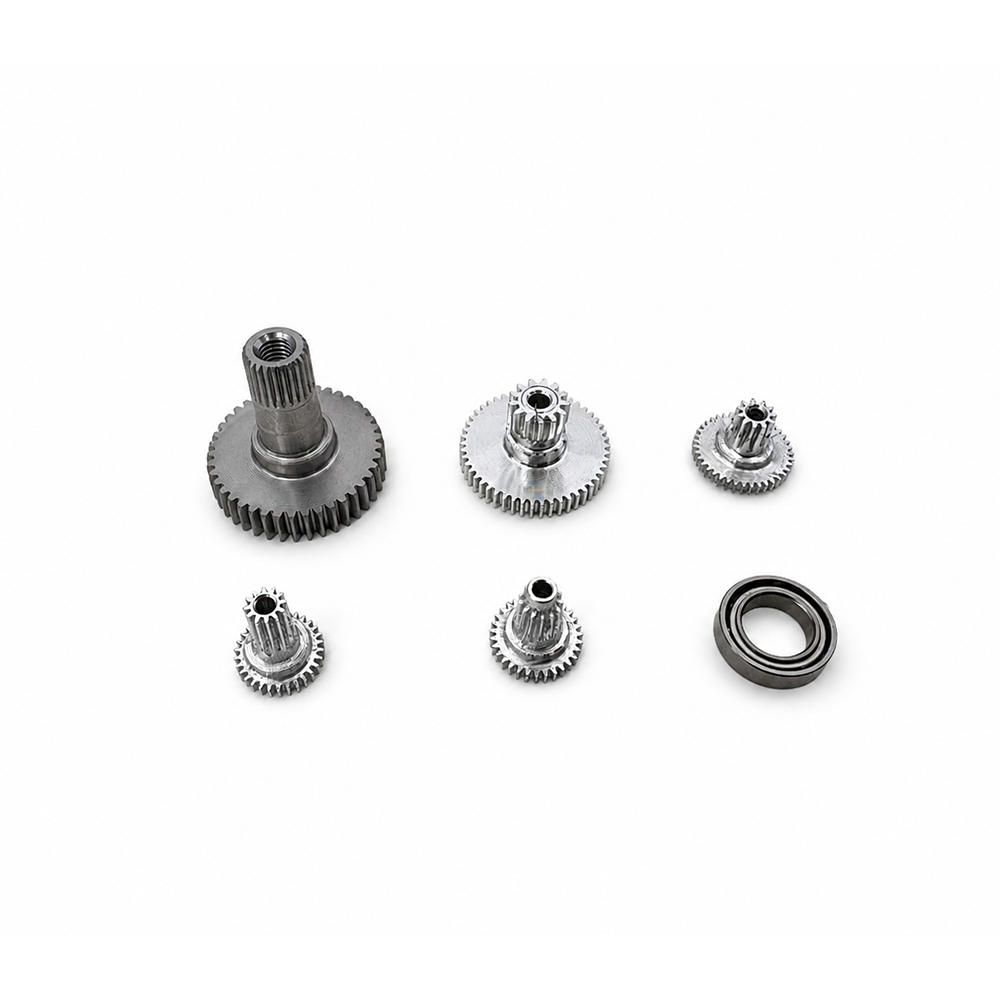
Each replacement kit contains:
- 1 × Final Output Gear with Splined Output Shaft
- 1 × Large Compound Reduction Gear
- 1 × Medium Compound Reduction Gear
- 1 × Intermediate Compound Gear A
- 1 × Intermediate Compound Gear B
- 1 × Deep-Groove Output Shaft Ball Bearing
Video Tutorial
We have prepared a step-by-step video showing how to disassemble the servo, replace the internal gears and bearing, and reassemble the servo correctly.
Video Tutorial:
We recommend watching the complete video once before beginning the replacement.
Before You Begin
Prepare a clean, well-lit workspace and make sure the MiraBot is completely powered off and disconnected from both the external power supply and USB cable.
You will also need:
- Suitable screwdrivers
- A small flat-head screwdriver
- Tweezers, if necessary
- Suitable lubricating grease for metal servo gears
- A clean tray or container for small parts
Due to international shipping restrictions, lubricating grease is not included with the replacement gear kit and must be prepared separately.
Important Installation Notes
Keep all parts organized
The servo contains several small shafts, screws, spacers, and gears. Keep them organized during disassembly and install them in their original positions.
Check each gear carefully
After opening the servo, inspect the gear teeth for visible wear, cracks, deformation, or missing teeth. Also check whether any fragments remain inside the housing.
Do not force the gears into position
Each gear should fit naturally onto its corresponding shaft. If a gear does not sit correctly, confirm its position and orientation before continuing.
Apply a suitable amount of grease
Apply a thin, even layer of suitable grease to the gear teeth. Too little grease may increase wear, while excessive grease may spread into other areas of the servo.
Check movement during assembly
As the gears are installed, gently check that they rotate smoothly. After all gears have been installed and before closing the housing, confirm that the complete gear train moves freely without binding.
Check the servo arm before reconnecting power
After reassembly and while the servo remains unpowered, gently rotate the servo arm through a small range to confirm that the movement feels smooth. Do not force the output shaft beyond its normal mechanical range.
After Replacement
Reinstall the servo in the MiraBot and confirm that:
- The servo arm is installed in the correct position
- The power and signal cables are connected correctly
- No cables are pinched or pulled
- All mounting screws are secure
- The servo can move without obstruction
For the first test, use a low-speed and low-range motion. Confirm that the servo operates smoothly before gradually returning to normal movement settings.
Extending the Life of Your Servos
Servo gears are mechanical components and will naturally wear over time. The following practices can help reduce unnecessary load:
- Avoid operating the device when movement is physically obstructed
- Make sure the mounted accessory does not exceed the recommended load
- Avoid applying excessive external force to the servo arms
- Check that all joints and moving parts can move smoothly
- Stop using the device if unusual clicking or grinding sounds appear
- Inspect the servo promptly if movement begins to slip or become irregular
Early inspection can prevent a damaged gear from affecting other components inside the servo.
A Repairable and Sustainable Design
MiraBot is designed with replaceable and serviceable components. Providing individual gear kits gives users a more practical alternative when only the mechanical gear train is damaged.
Instead of replacing a complete servo unnecessarily, users can restore its mechanical operation at a significantly lower cost. This helps reduce maintenance expenses, avoid unnecessary waste, and extend the usable life of the MiraBot.